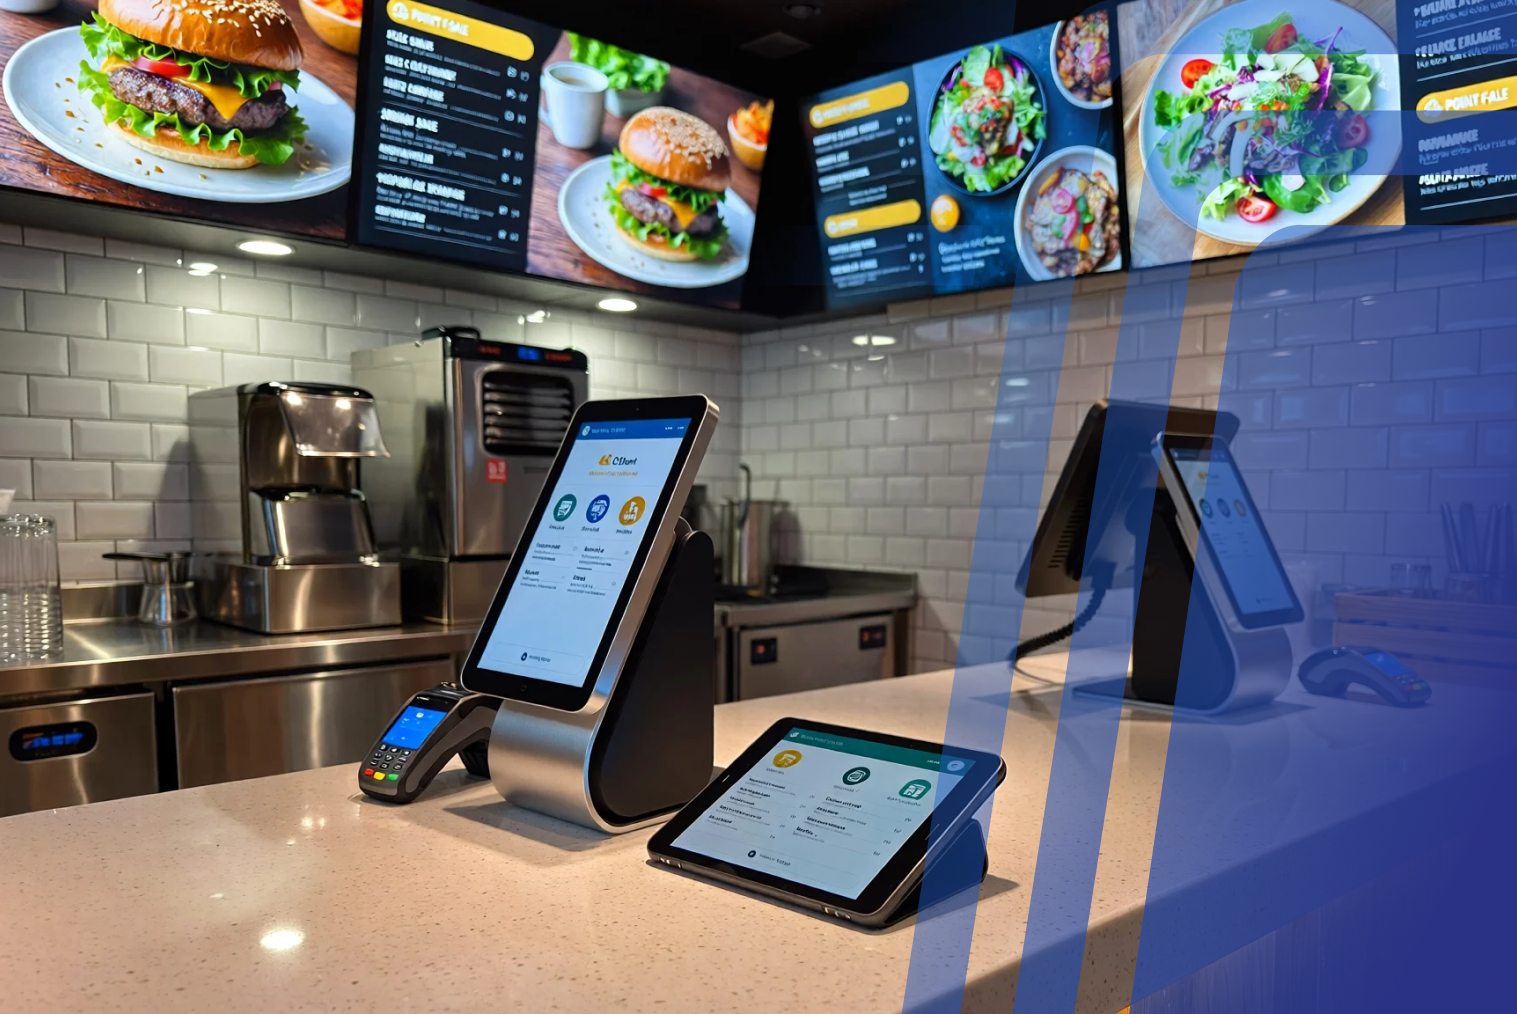
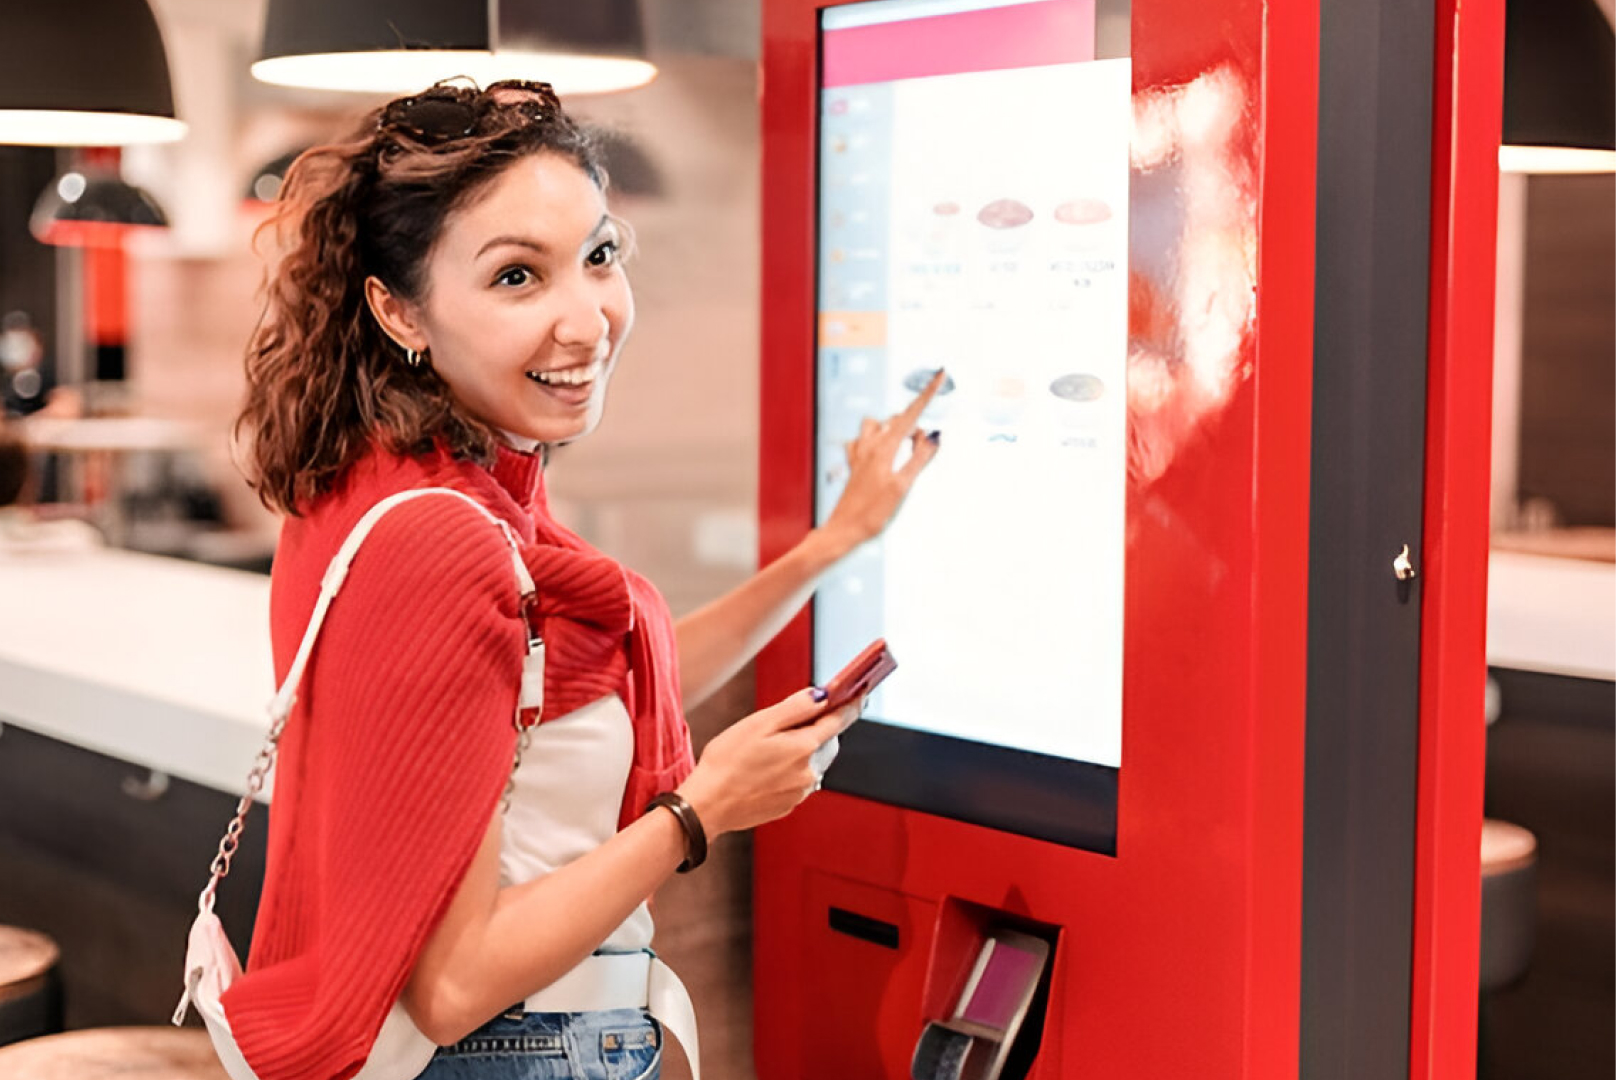
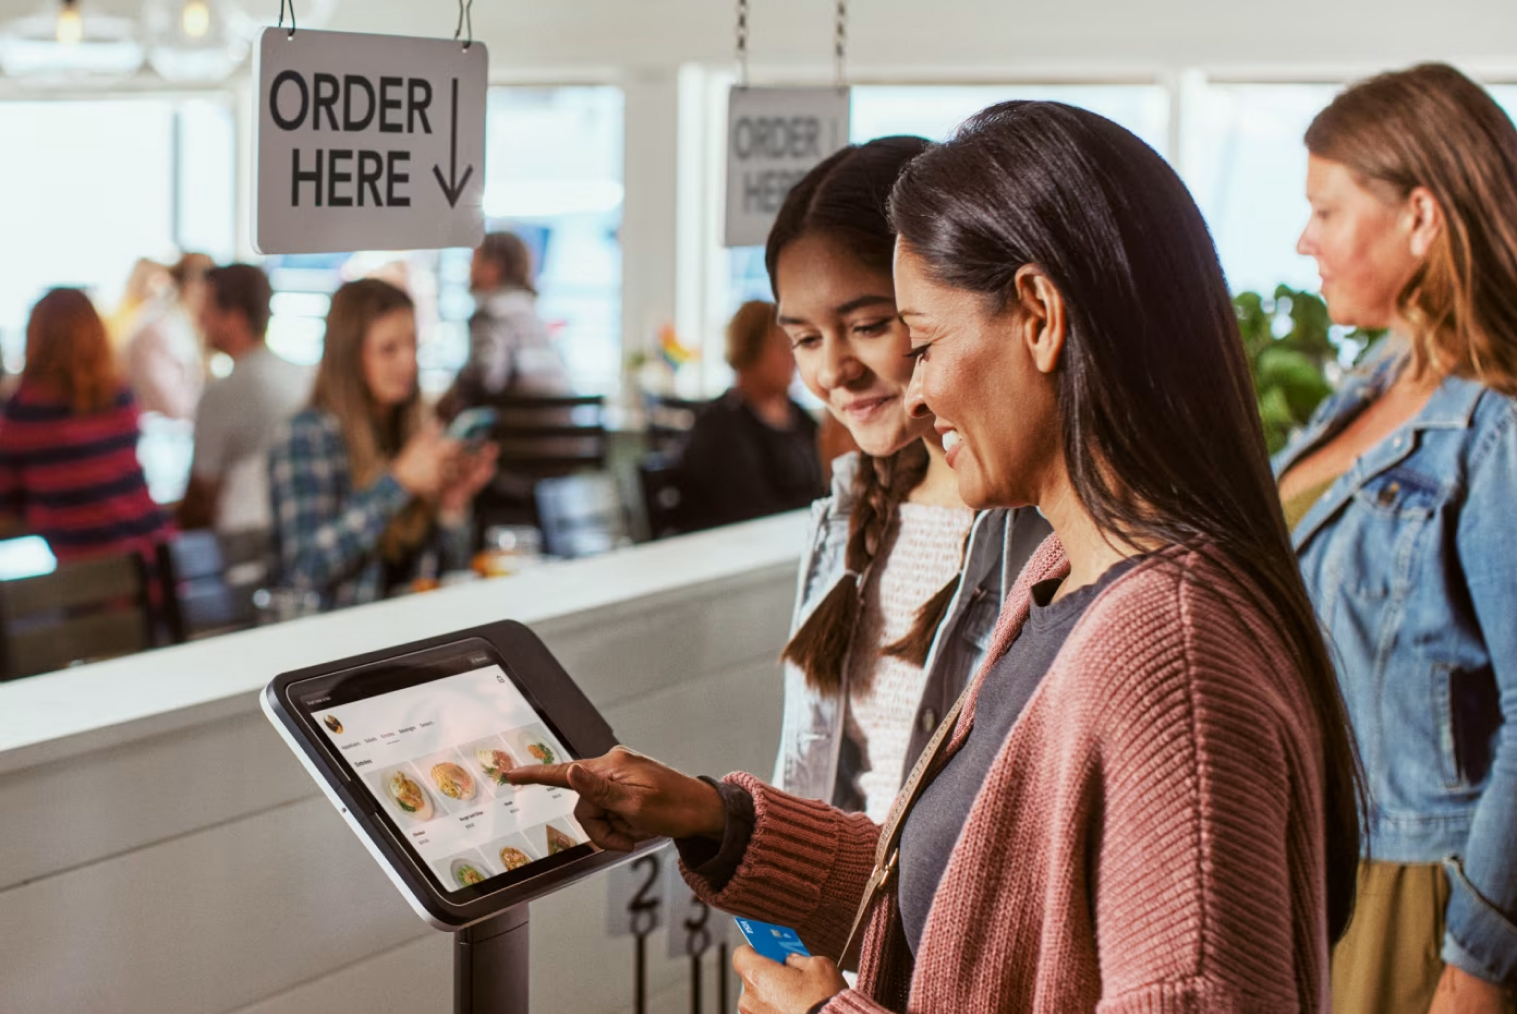
A useful POS demo runs your own menu, your busiest service and your payment setup, not a generic tour. Prepare a sample menu with modifiers, your EFTPOS terminal model and your ordering channels, then ask each vendor to run eight scenarios live. Score every demo on the same 1 to 5 criteria so you can compare them fairly.
You've got a shortlist and you're booking demos. This is the stage where many owners hand control of the process to the vendor, and a vendor-led POS system demo is usually a tour of the features that look best: a clean menu, a simple order and perfect connectivity.
Your service doesn't look like that. It has a table of six splitting the bill three ways, a flat white with four modifiers, and a kiosk order arriving while the printer is busy. Those are the scenarios that show whether a system will cope, and they're the ones that get skipped unless you ask.
With wage costs averaging about 40 per cent of revenue across NZ hospitality, according to the Restaurant Association, choosing the wrong system is expensive to unwind. This guide gives you a POS demo checklist, eight scenarios to ask for live, and a scorecard so you can evaluate demos side by side.
What Should a POS Demo Cover?
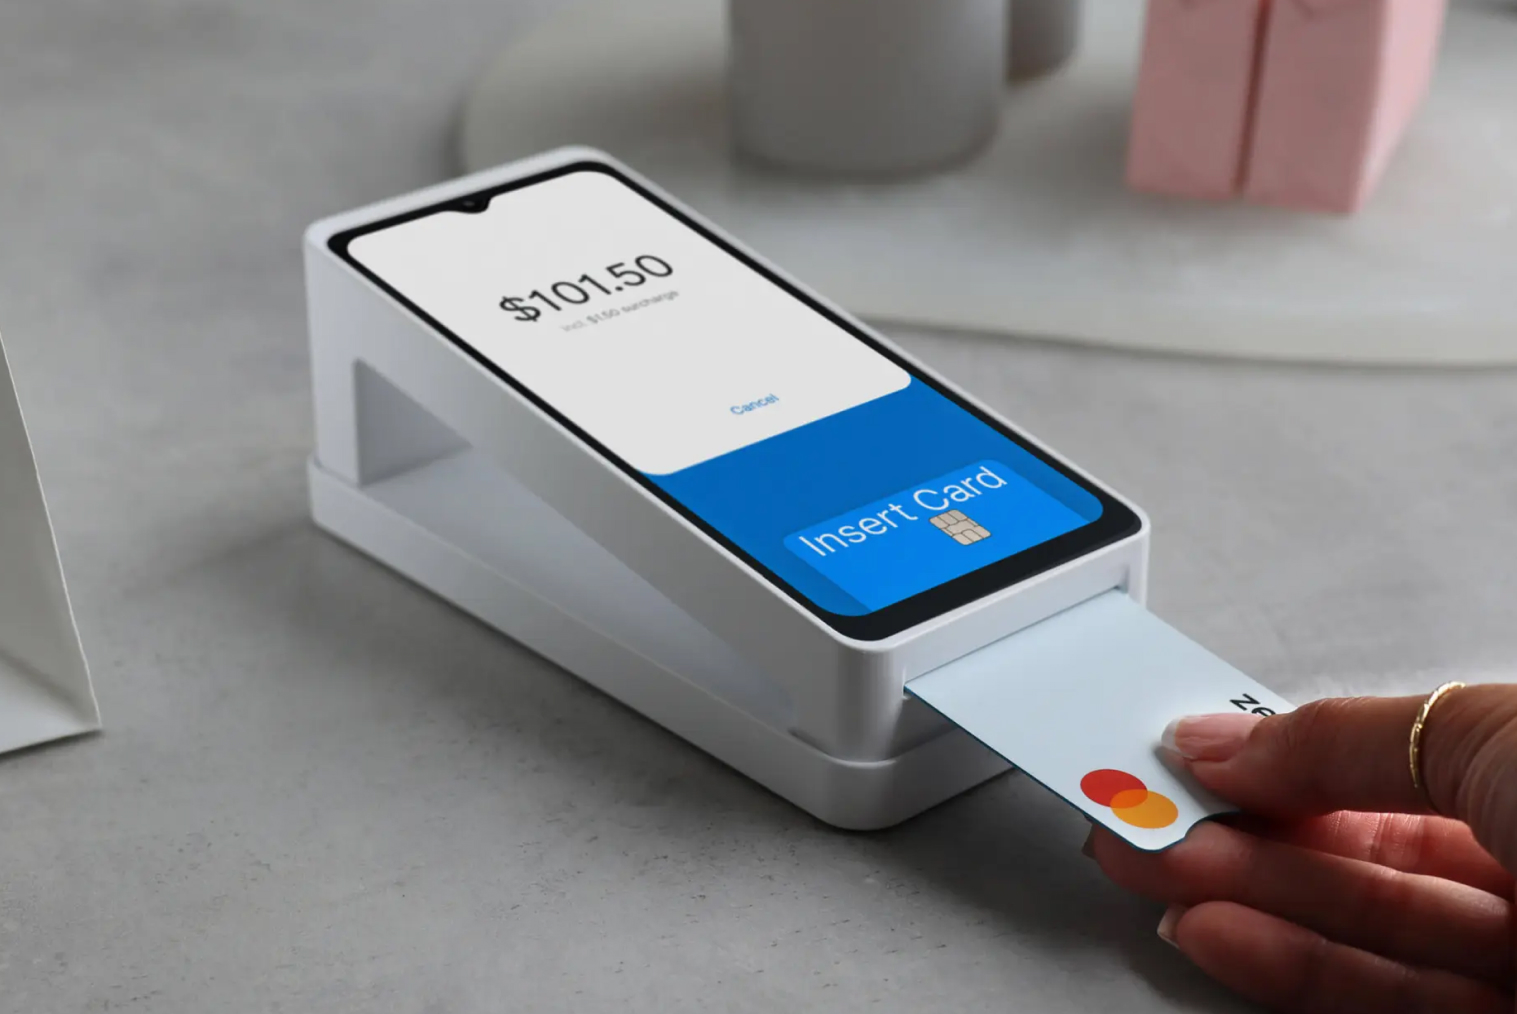
A POS demo should cover your menu and modifiers, how orders from every channel reach the kitchen, how a card payment works end to end through your EFTPOS terminal, and how the day's reporting and GST come out. If it doesn't, it's a presentation, not an evaluation.
Start with what to ask in a POS demo before you arrive: can we run this on our own menu, our busiest-hour scenario and our EFTPOS terminal? A vendor confident in the product will say yes without hesitation.
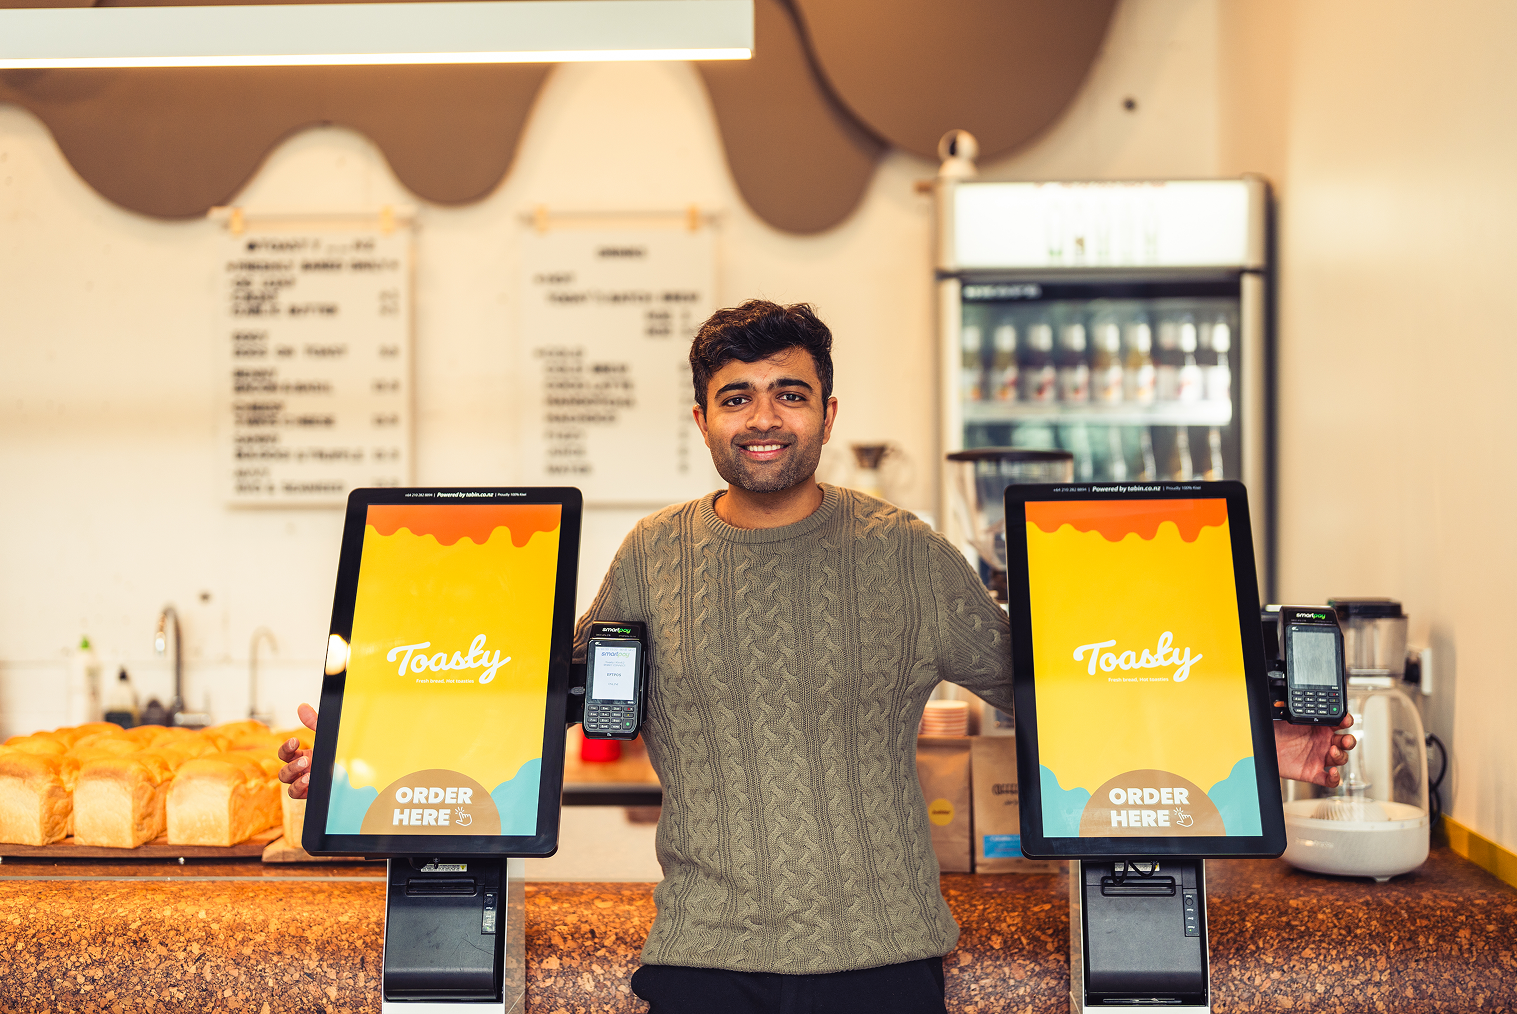
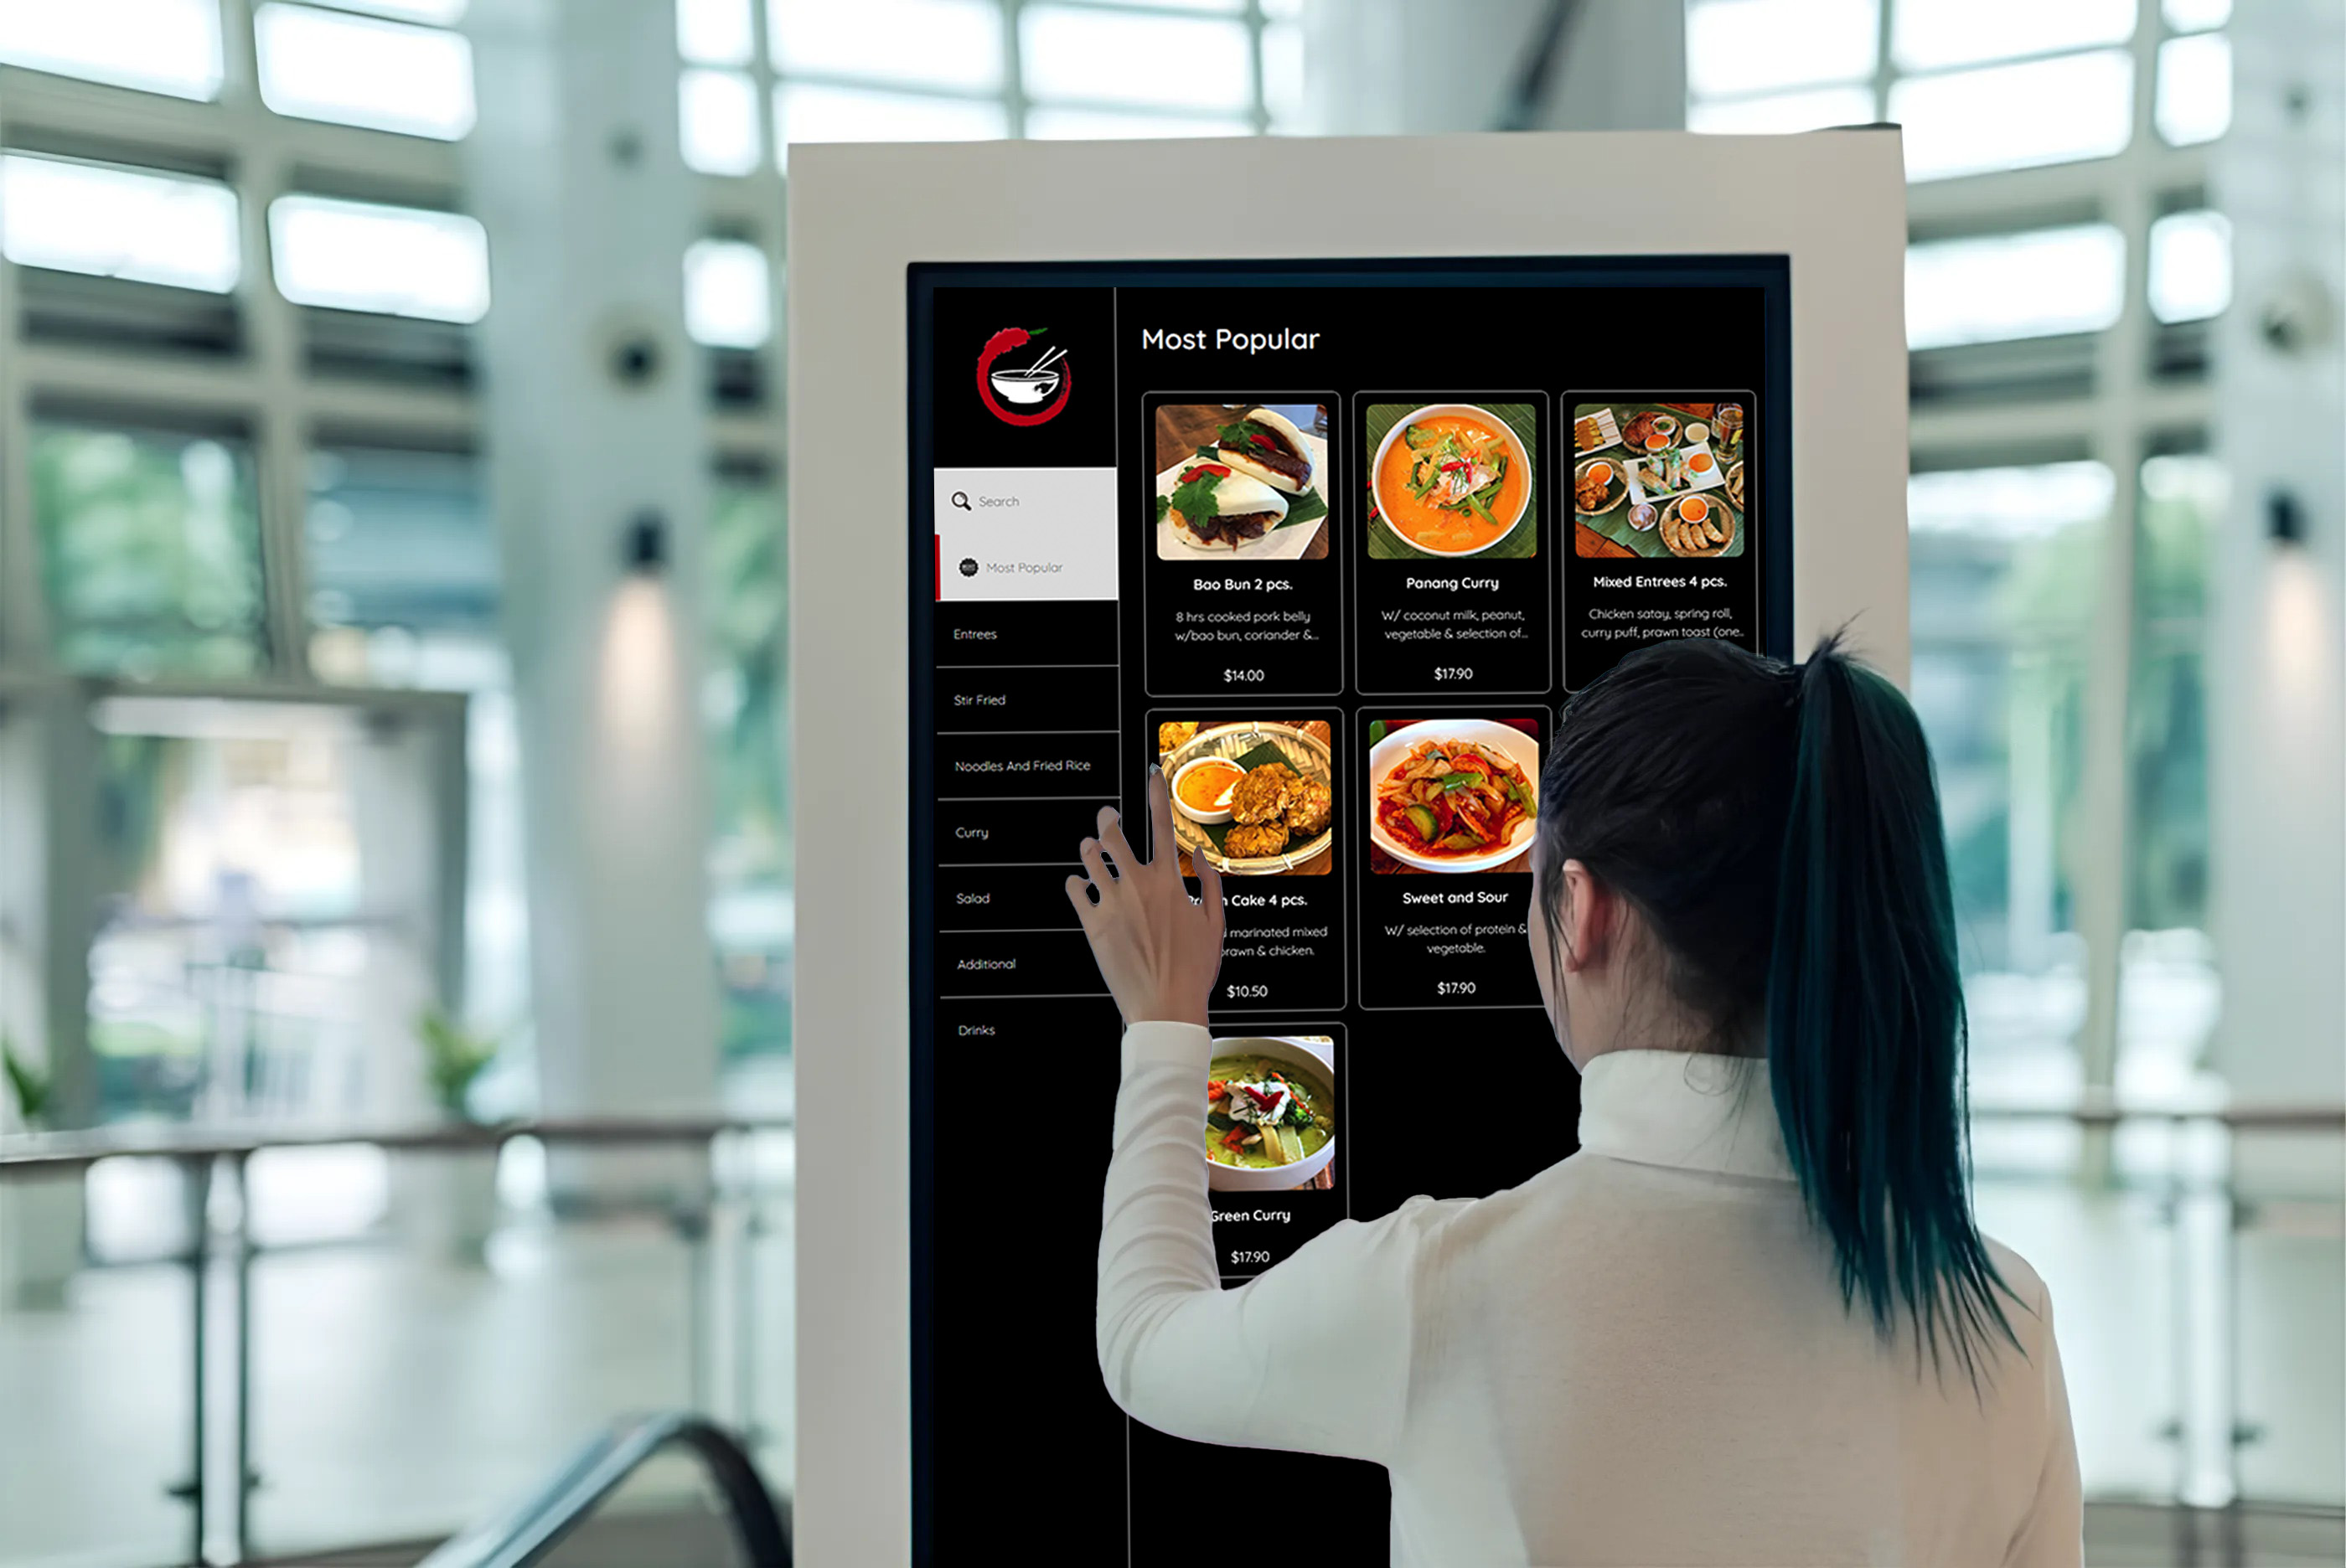
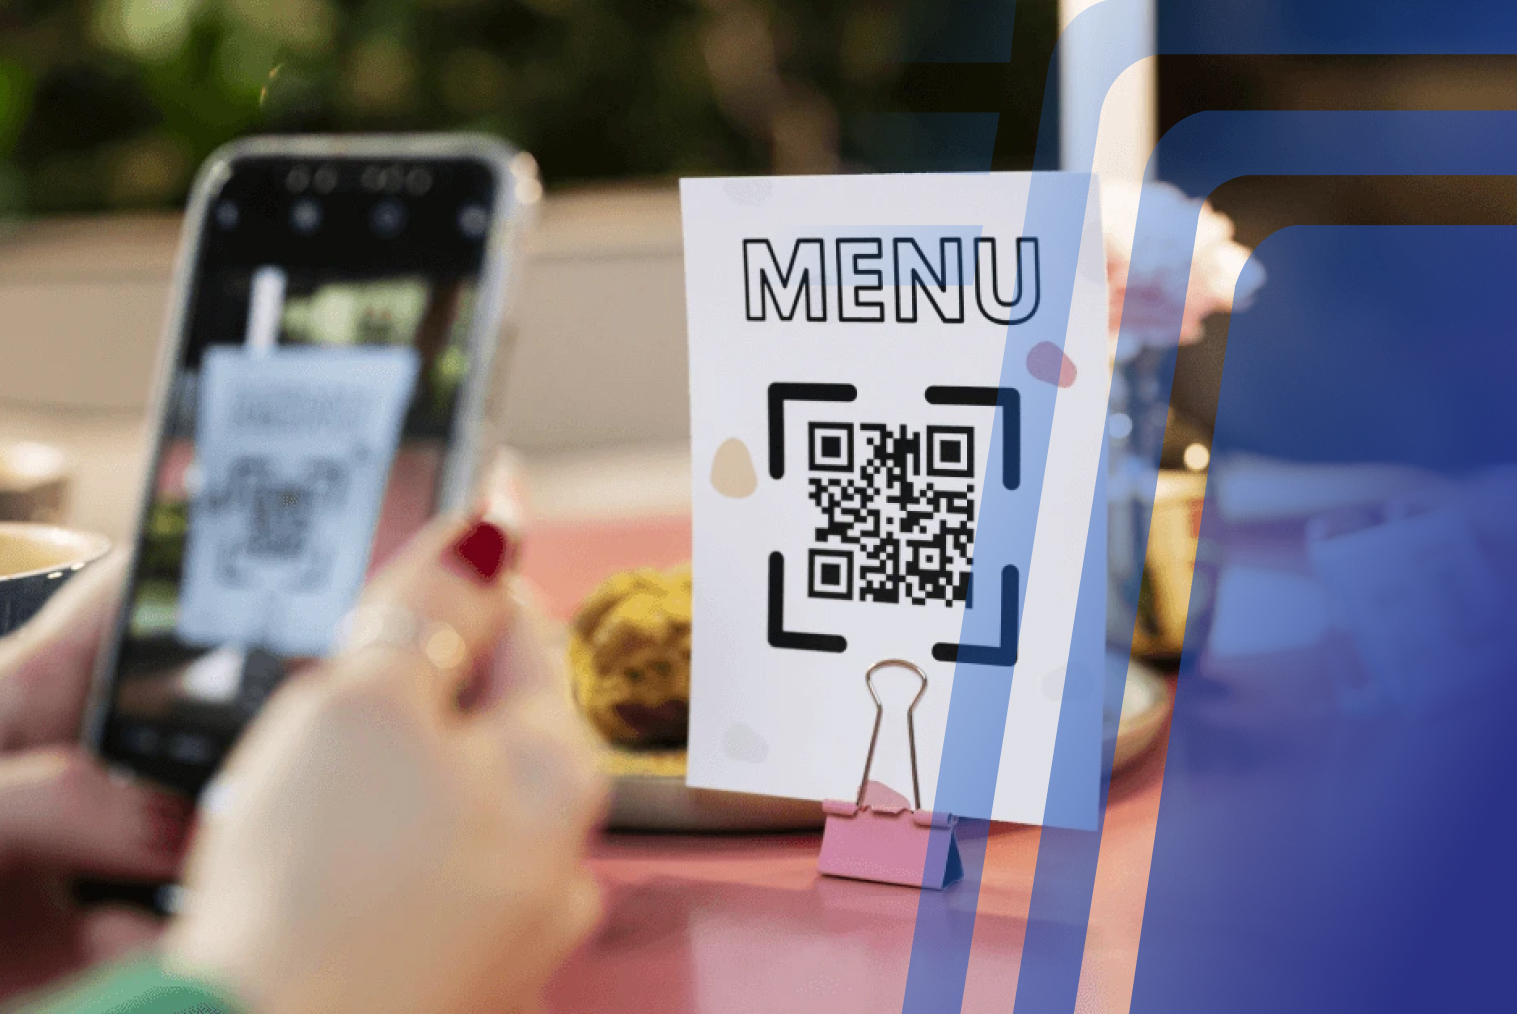
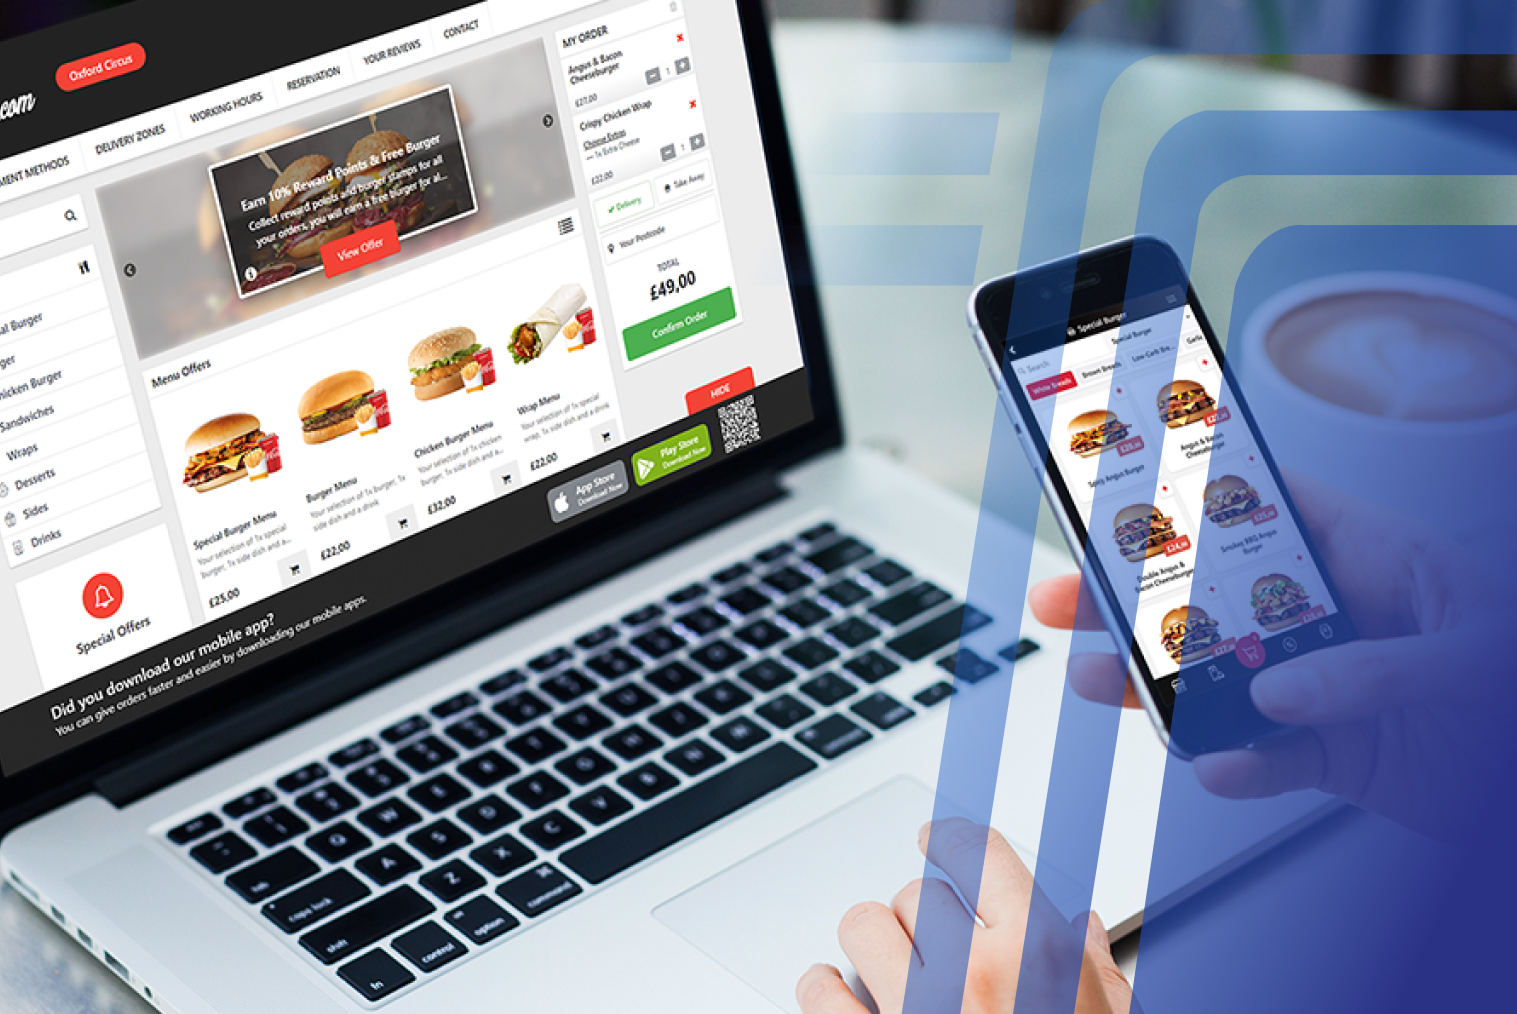
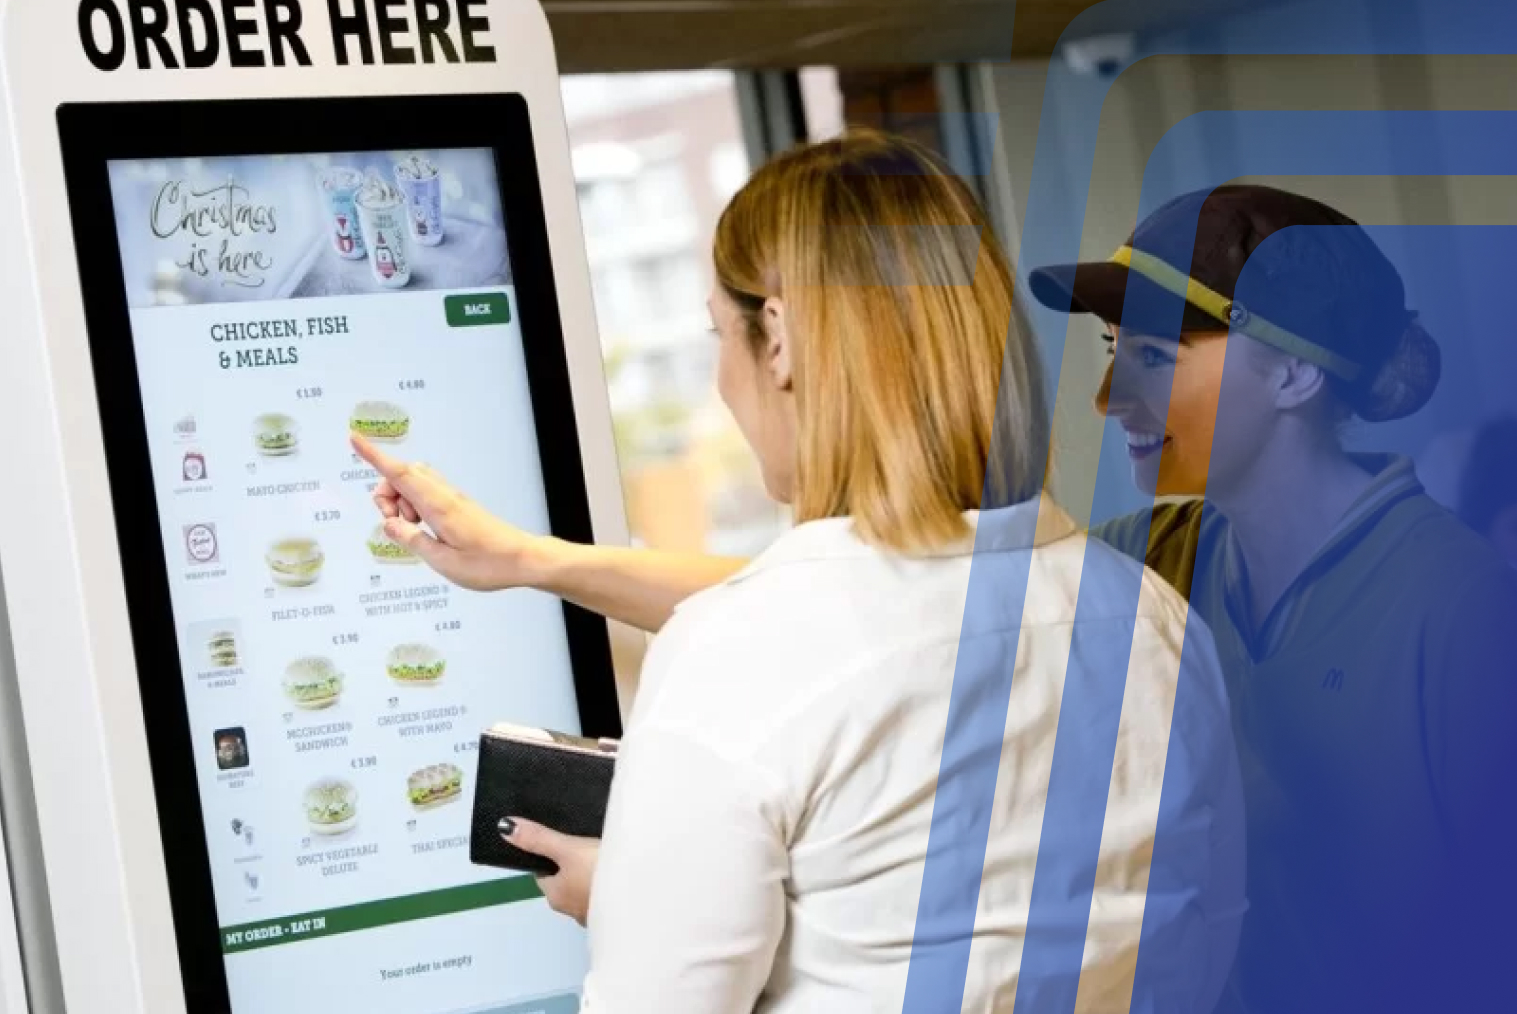
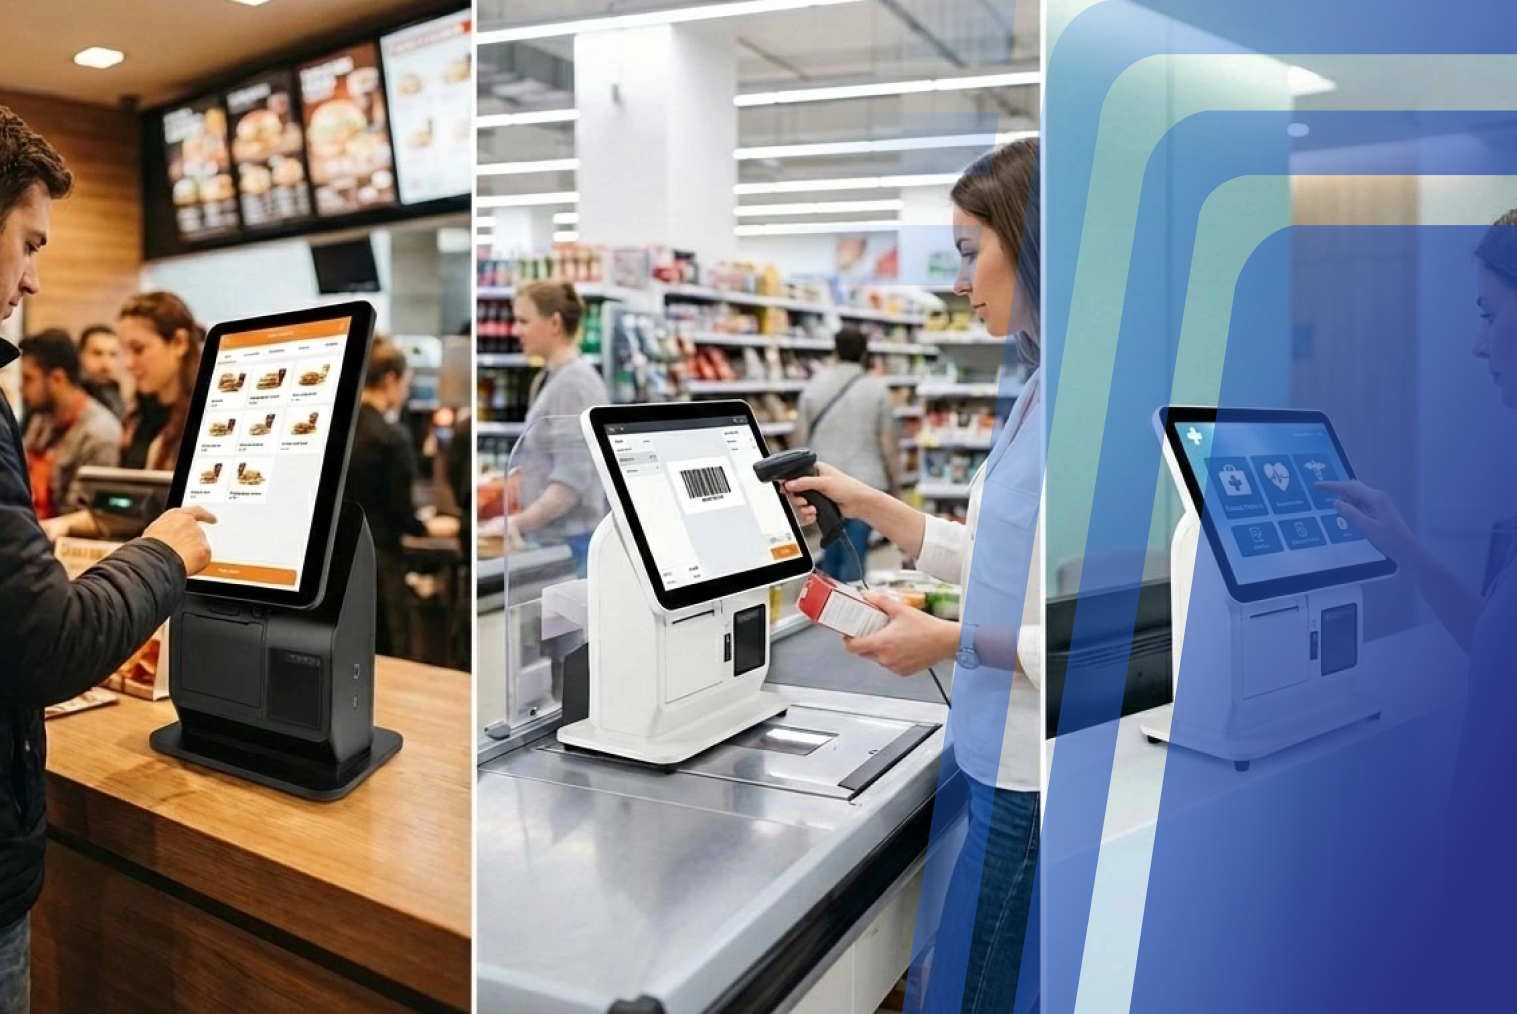
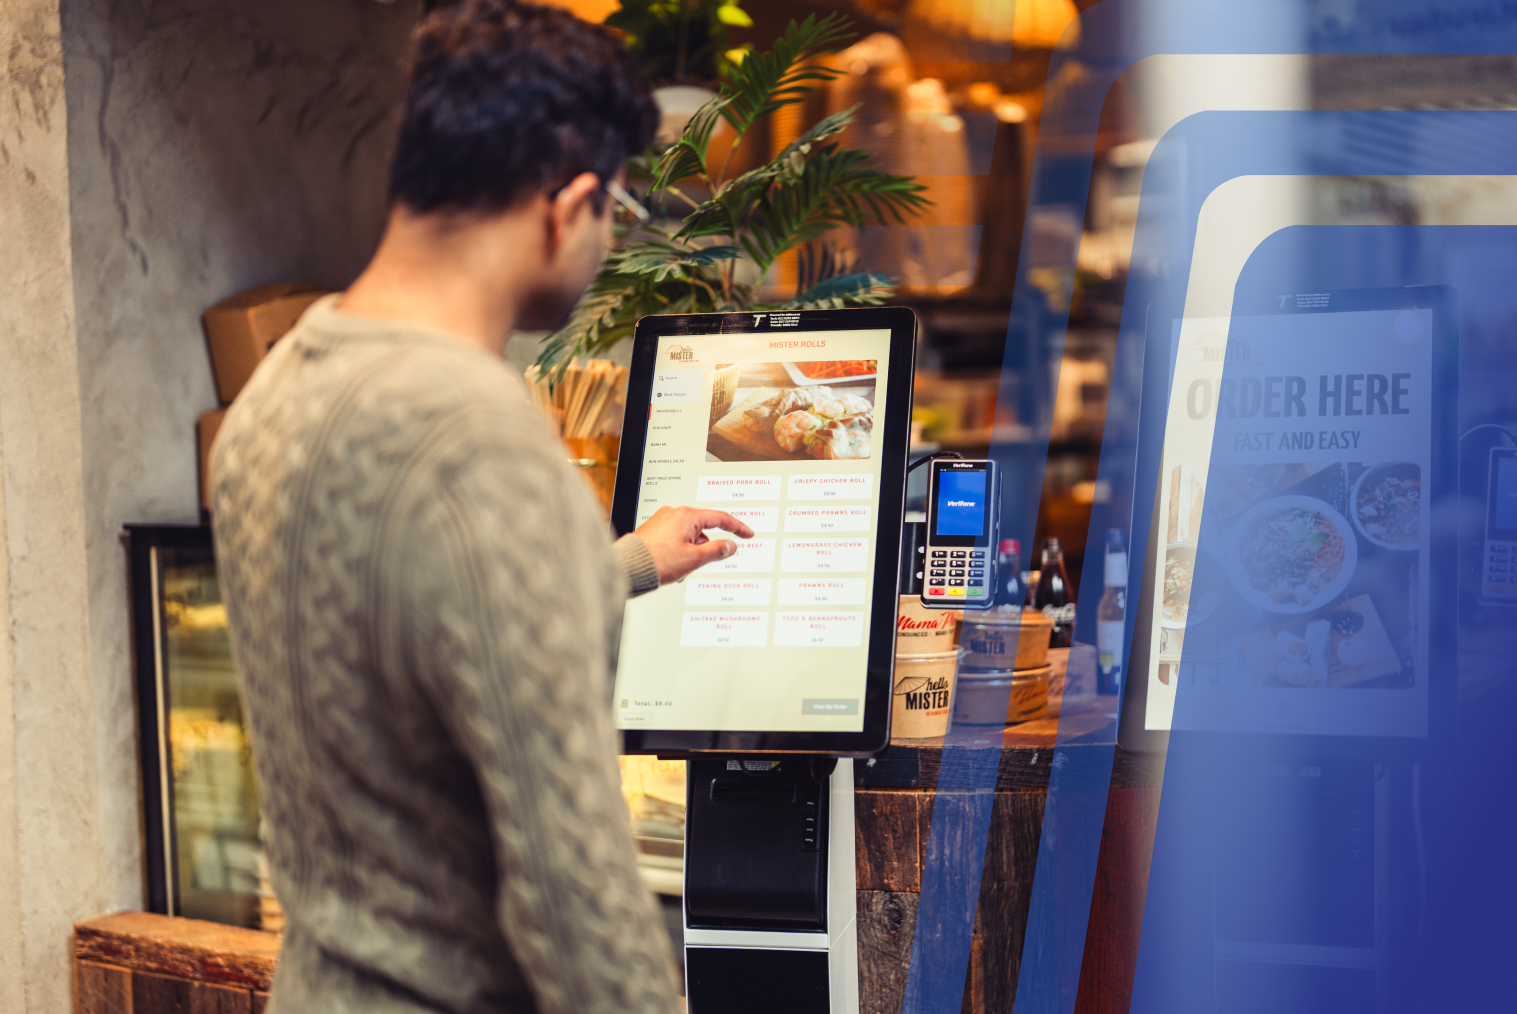
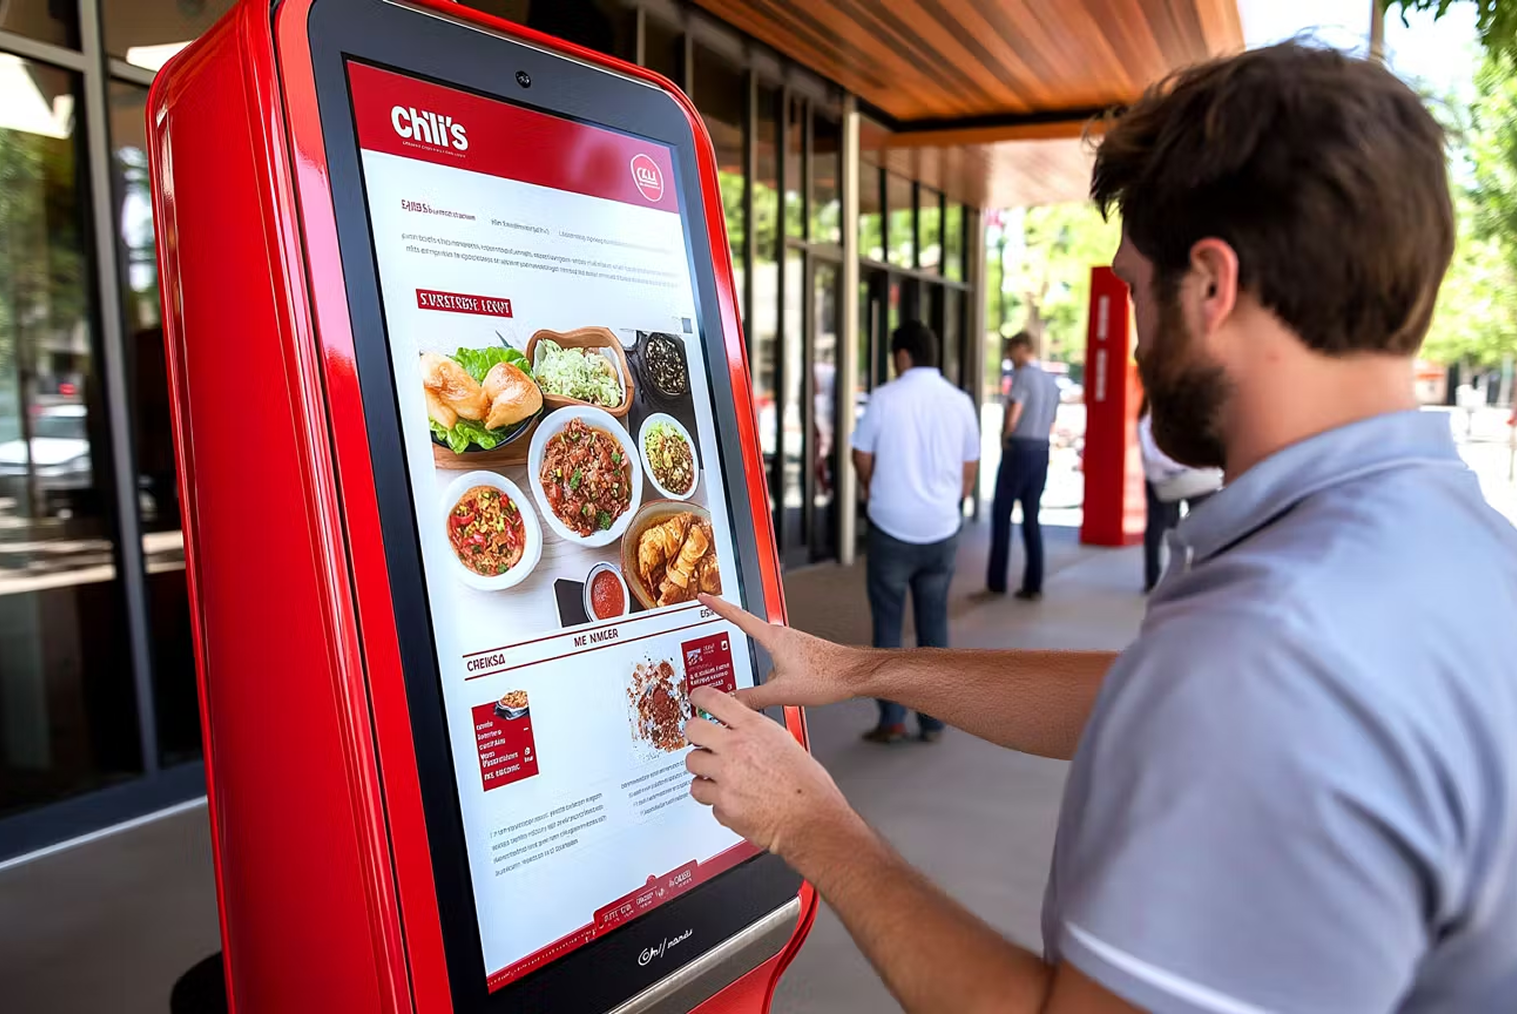
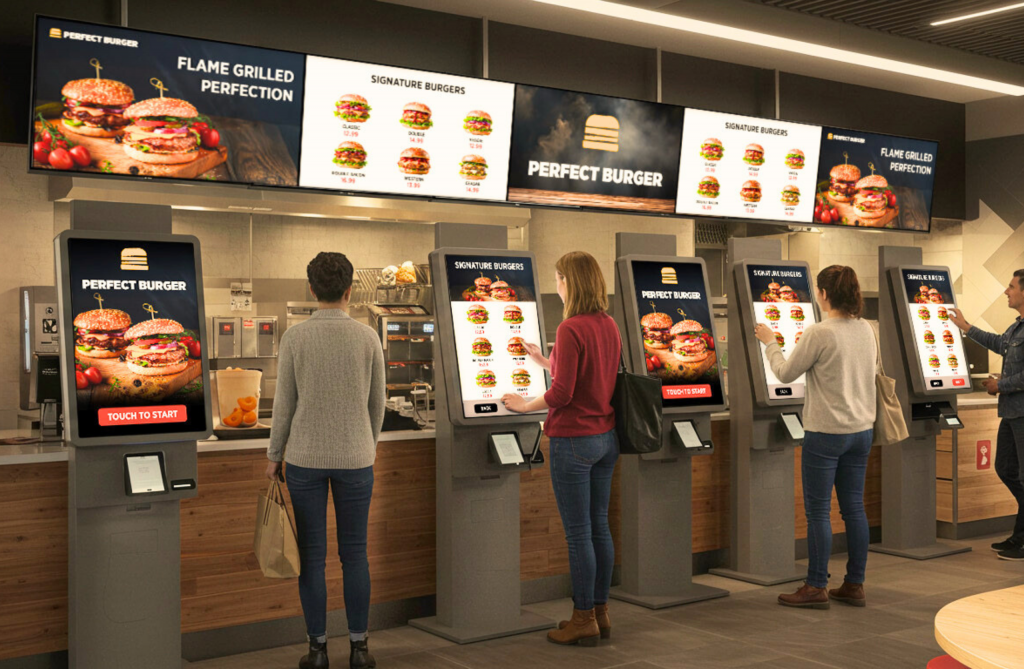
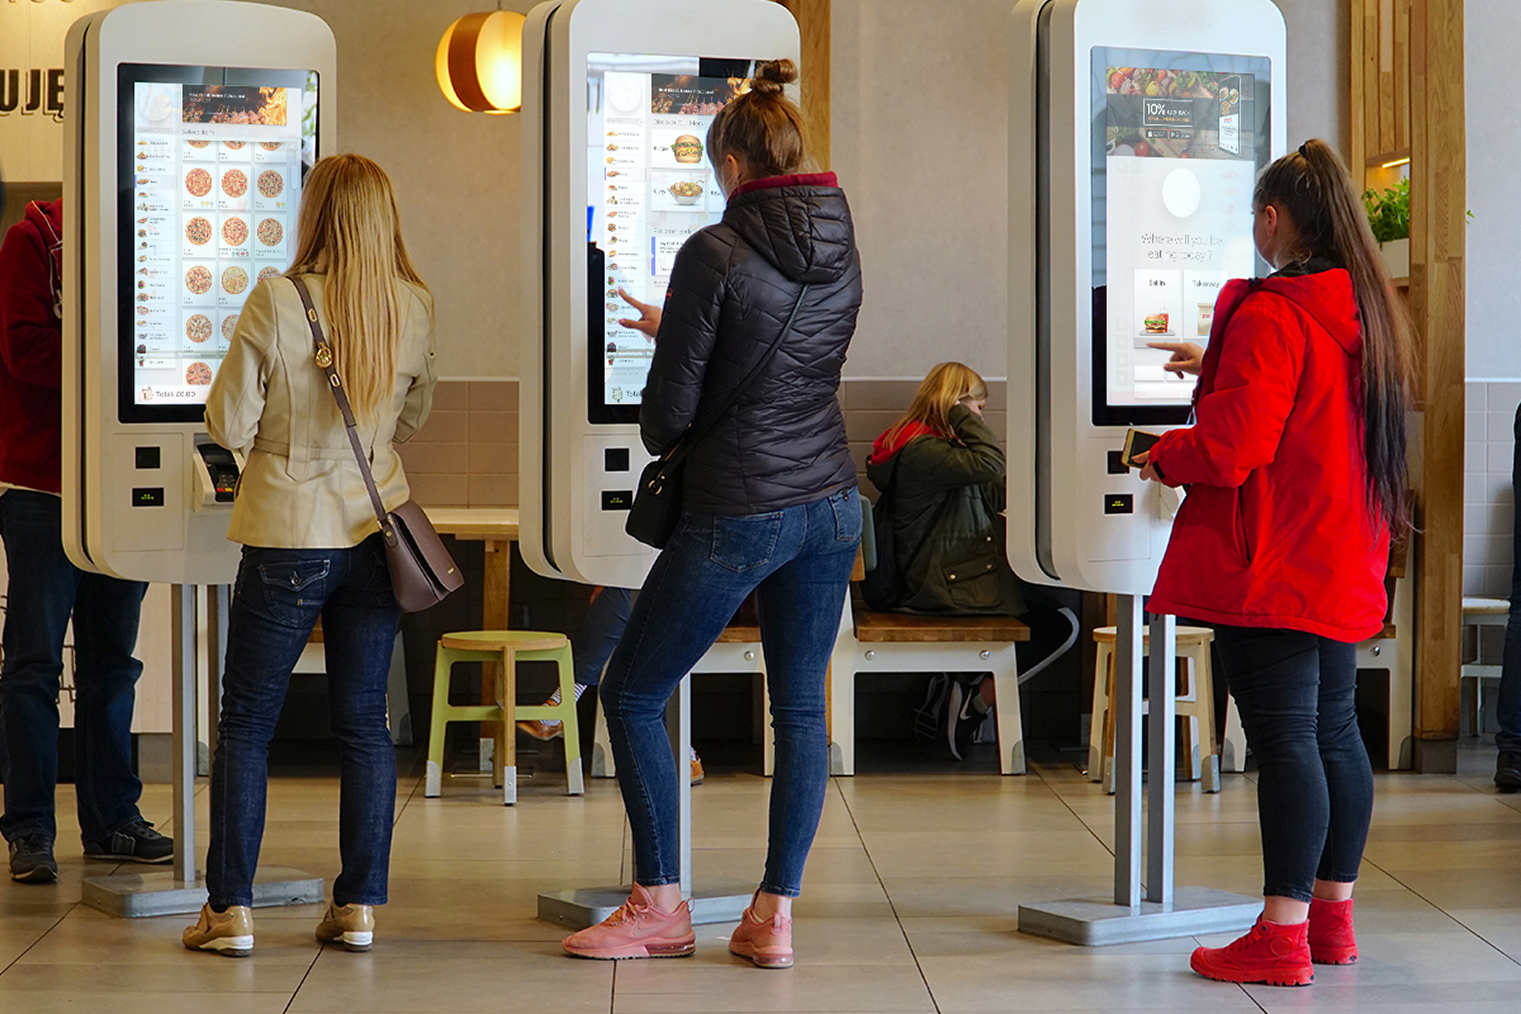
The demo should also show how your channels connect. Ask to see self-service kiosk orders and an online ordering system feeding the same kitchen queue as the counter, and ask what happens after you sign: setup, training and support. If you're assessing point of sale software, ask to see it handle your messiest order, not the tidiest.
How Do You Prepare for a POS Demo?
Preparing means arriving with your own menu, your busiest-hour scenario and your payment details, so the vendor demonstrates your operation instead of theirs. An hour of preparation makes the demo far more useful. Copy this POS demo checklist and tick it off before you go.
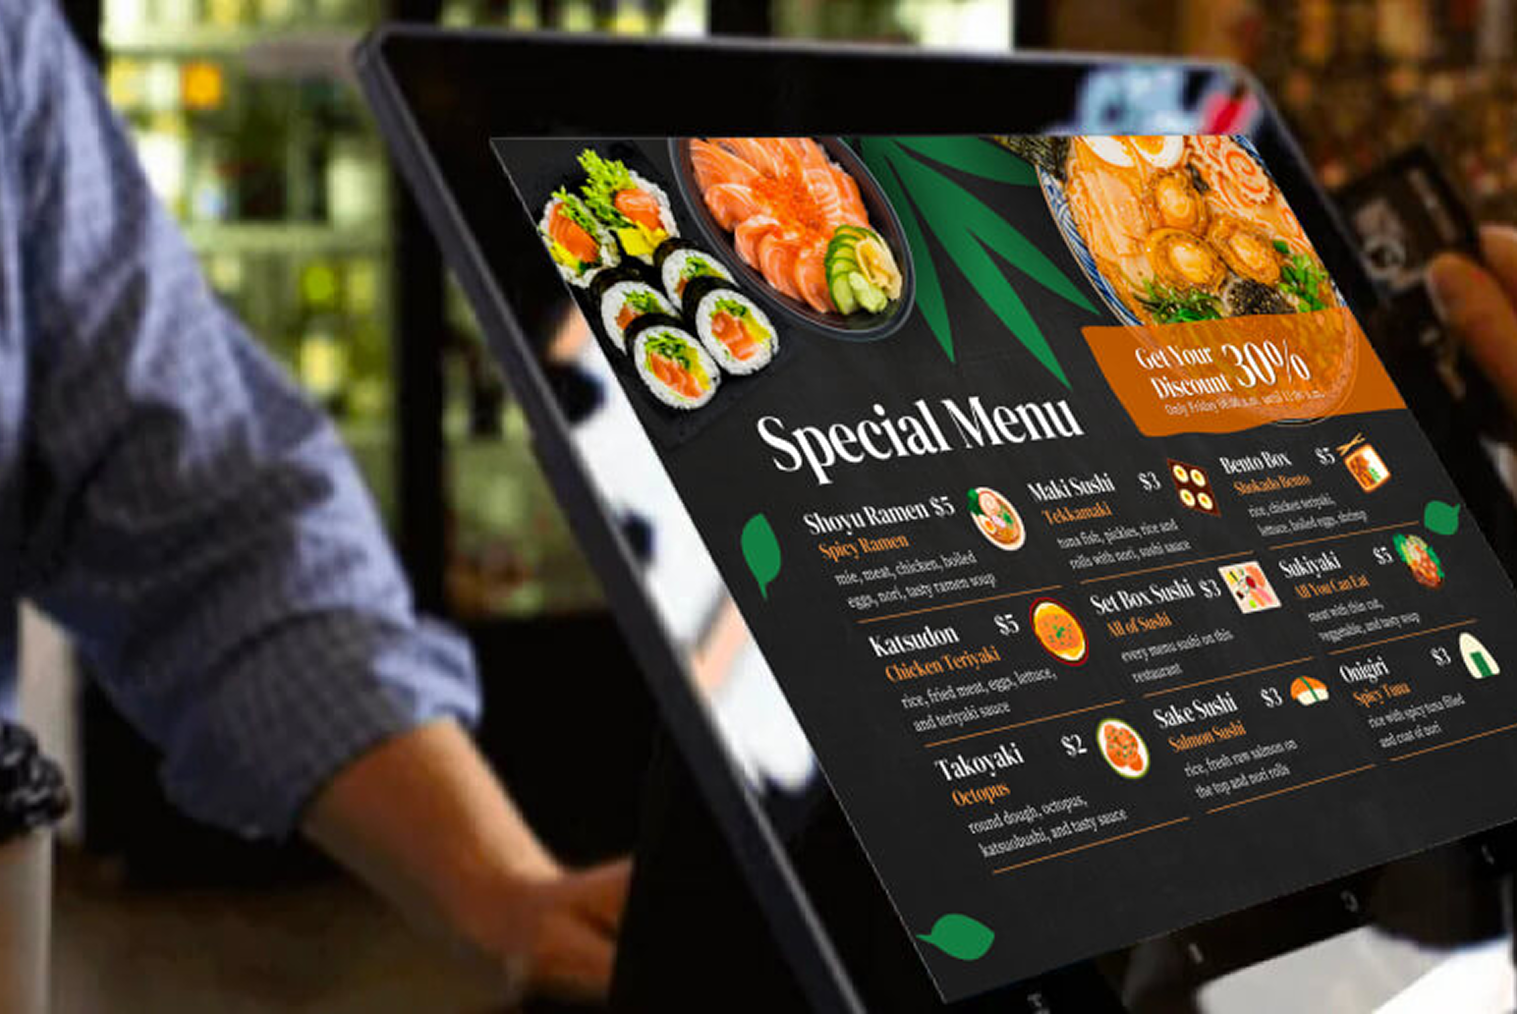
☐ Sample menu with modifiers: your most complicated items, such as a flat white with oat milk, extra shot and extra hot, or a burger with three swaps.
☐ Peak-hour scenario: your busiest 15 minutes, including orders, staff on shift and which channels are active.
☐ Current EFTPOS terminal model: make, model and who you rent it from.
☐ Number of devices: tills, handhelds, kitchen screens, printers and kiosks.
☐ Ordering channels: counter, kiosk, QR, online and delivery apps.
☐ Current pain points: your top three problems with the system you have now.
☐ Your scorecard: print the scorecard below, one per provider.
8 Scenarios to Ask the Vendor to Run Live
These are the POS demo questions that matter most, framed as things to watch rather than things to hear about. Ask the vendor to run each scenario live on your menu, and compare what you see with what good looks like in the table.
| Scenario |
What good looks like |
| Split bill at a busy table |
The bill splits by item or by person, each payment goes through the terminal without anyone re-typing the amount, and the table closes when the last payment lands. |
| Modifier-heavy order |
Your most complicated item is entered without hunting through menus, and every modifier appears clearly on the kitchen ticket. |
| Kiosk or online order reaching the kitchen |
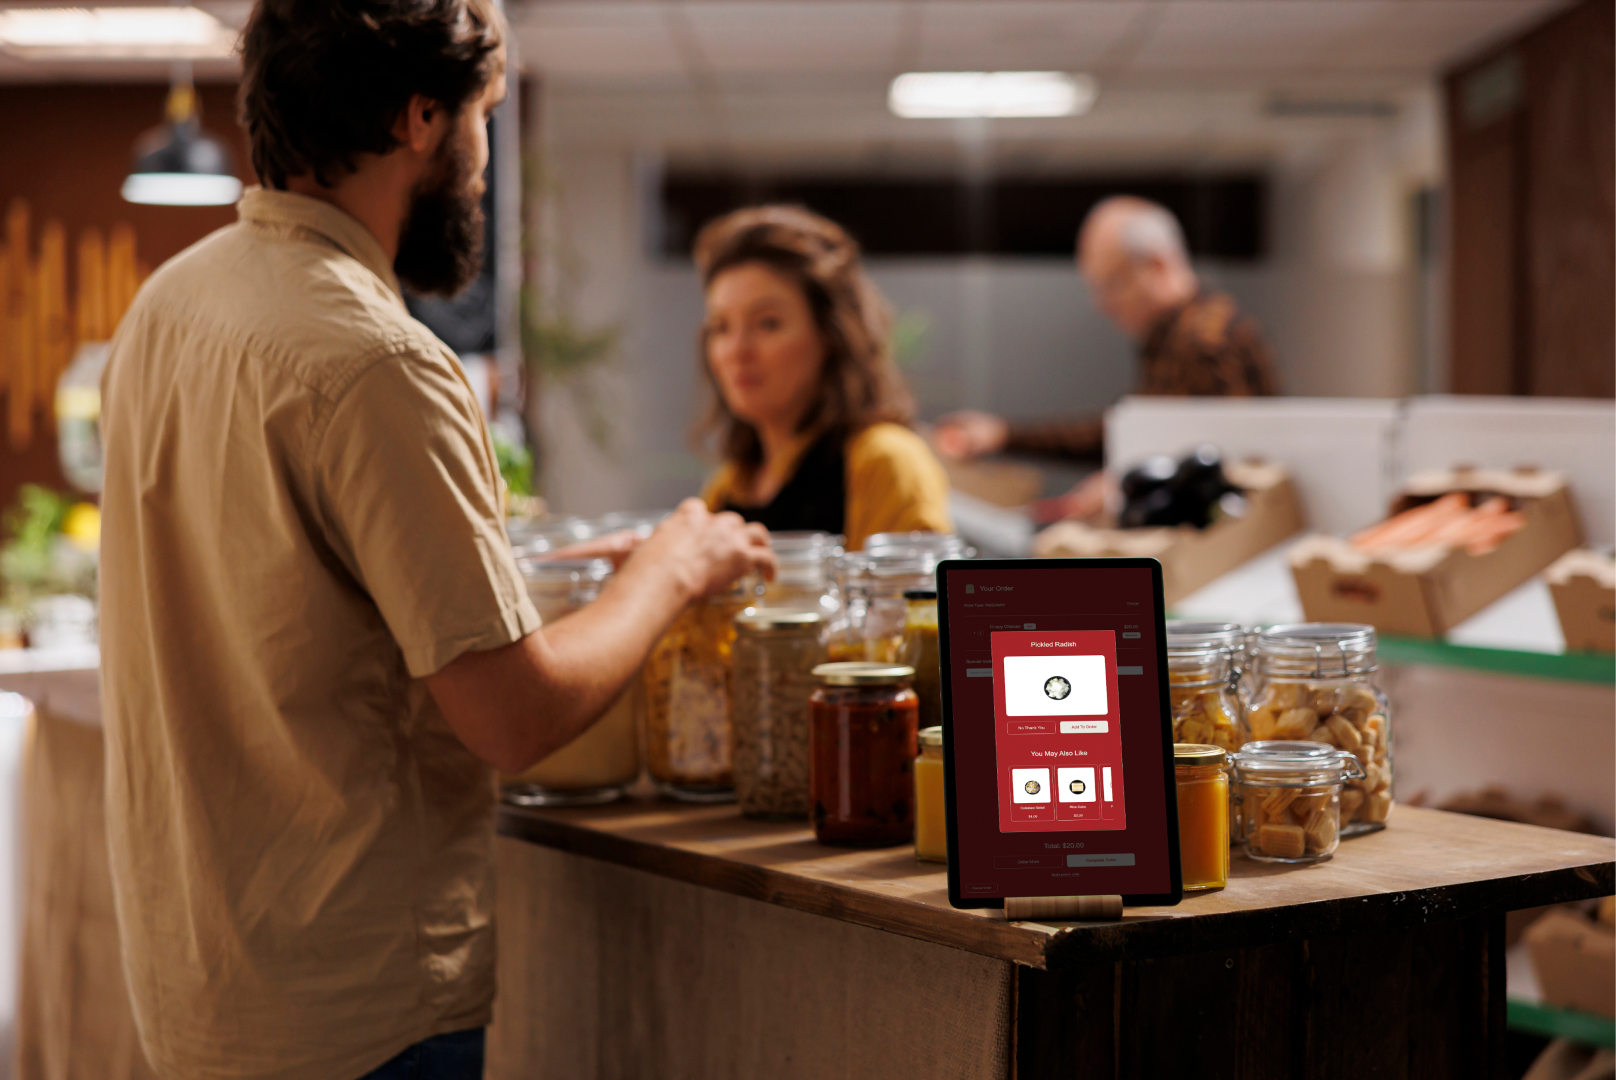
The order appears in the same kitchen queue as a counter order, with its source, modifiers and table or pickup reference, and nobody has to re-enter it. |
| Card payment end to end |
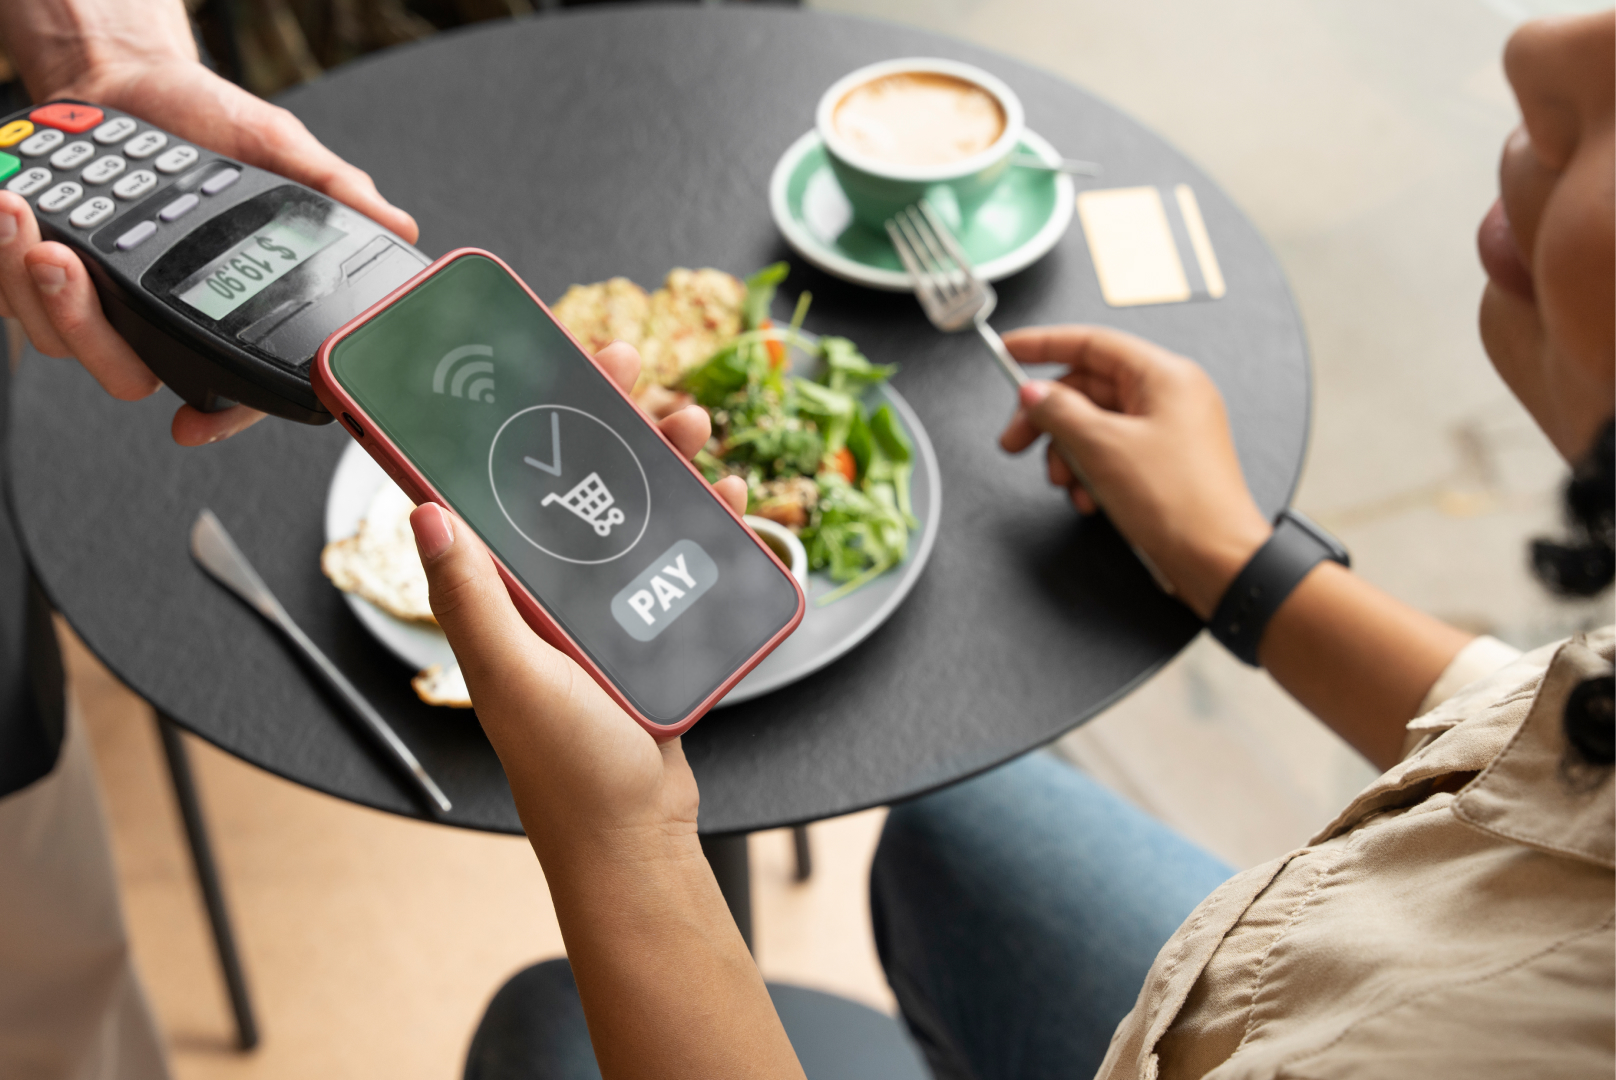
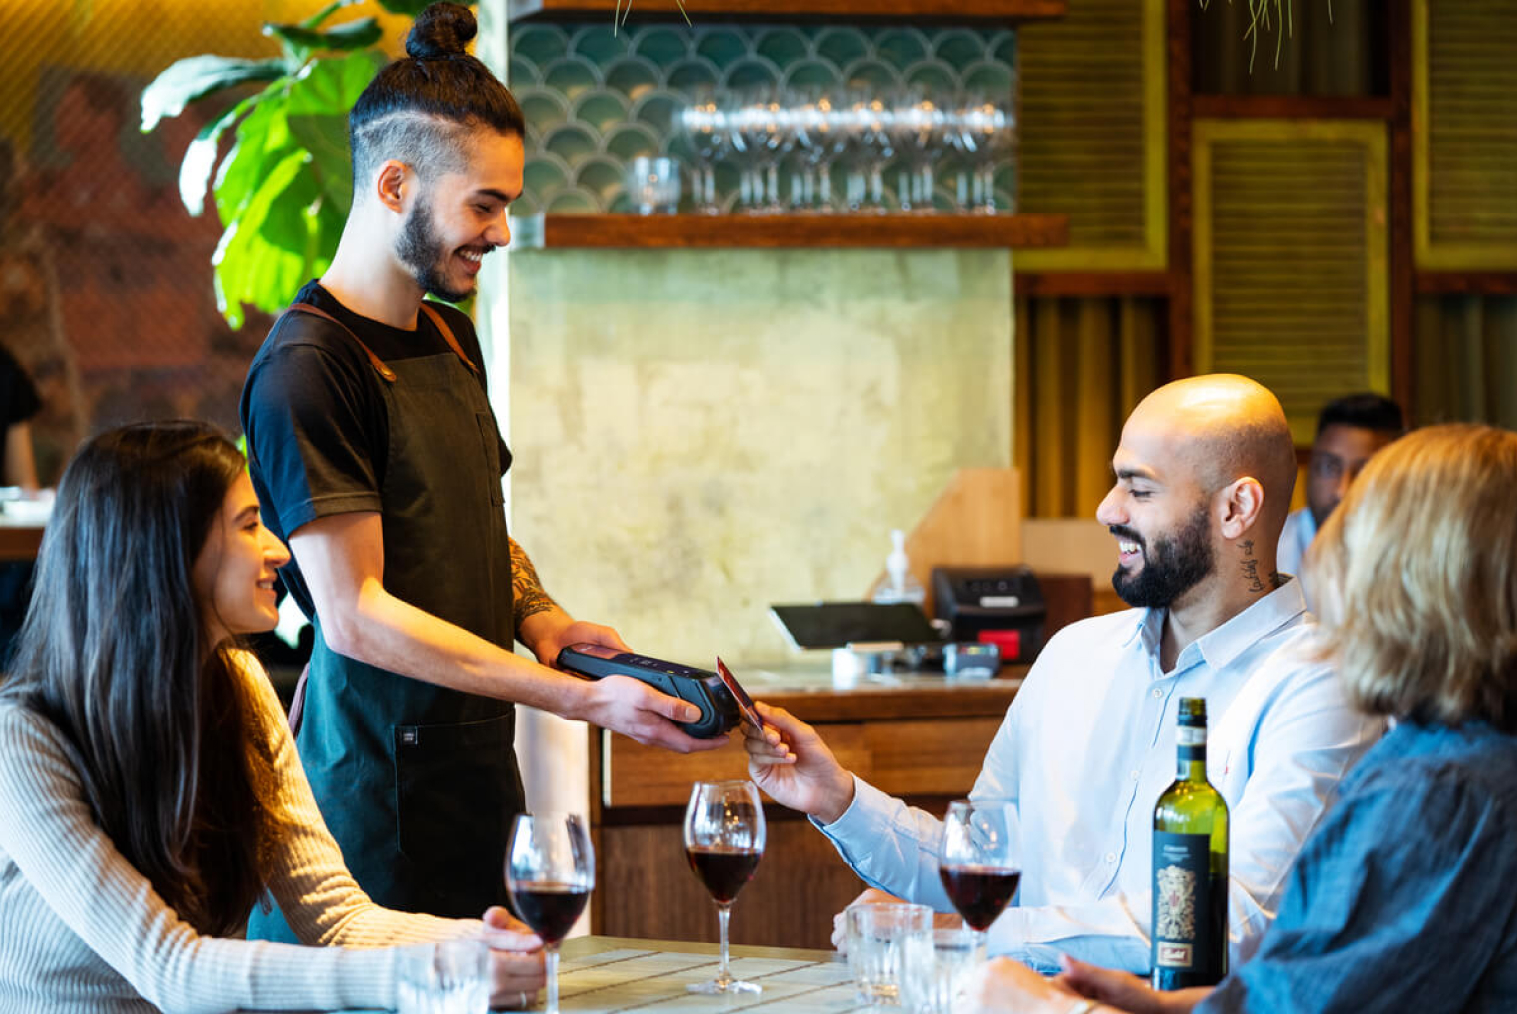
The total passes from the POS to the terminal automatically, the customer taps, and the result returns to the POS without manual steps. |
| Refund |
The refund links to the original sale, adjusts GST correctly, and returns to the original card without re-typing details. |
| Menu price change |
You change the price once and it updates across counter, kiosk, QR and online ordering without separate logins. |
| End-of-day and GST report |
The report is produced on request, shows GST at 15 per cent separately, and the card total matches the terminal's settlement. |
| Adding a new device |
A new till or kitchen screen is added and working without waiting for a technician. |
Note anything the vendor skips or calls 'on the roadmap'. For the commercial terms behind what you see, read the POS contract checklist.
Questions to Ask After the Demo
After the scenarios, move to the commercial questions a demo can't answer: the full cost, what's included, support hours, contract term and what happens to your data. Ask every provider the same questions and get the answers in writing.
• What is the full first-year cost, broken into software, hardware, EFTPOS, setup and training?
• Which features are in the base plan, and which are paid add-ons?
• What are the support hours and channels for a system problem during evening and weekend service?
• What is the minimum term, and what is the notice period for leaving?
• Who migrates my menu and customer data from my current system, and is there a cost?
• Can I speak to a current NZ customer with a venue like mine?
For the contract questions in full, see the POS contract checklist. For what good support looks like, see what support to expect from a POS provider.
How to Score POS Demos Side by Side
To compare POS demos from different providers, score each one from 1 to 5 on the same criteria straight after the demo, while it's fresh. That's how to evaluate a POS system fairly: by one yardstick, not by whichever presentation felt slickest.
If you haven't settled on a shortlist yet, start by learning how to compare POS systems in NZ. Then use this scorecard for each demo. Score 1 for poor, 5 for excellent.
| Criterion |
Provider A |
Provider B |
Provider C |
| Ran my own menu and modifiers without workarounds |
|
|
|
| Orders from every channel reached the kitchen without re-entry |
|
|
|
| Card payment worked end to end with my terminal |
|
|
|
| Split bill and refund handled cleanly |
|
|
|
| Menu change updated every channel at once |
|
|
|
| End-of-day and GST report was clear and correct |
|
|
|
| Setup, training and onboarding plan was specific |
|
|
|
| Support hours, channels and location were clear |
|
|
|
| Quote was itemised and easy to compare |
|
|
|
| Total score (out of 45) |
|
|
|
What Happens in a Tabin Demo?
A demo is the time to put this guide to work. Ask Tabin to run the eight scenarios on your own menu, and ask every other provider on your shortlist for the same ones.
Book a POS Demo NZ: What to Bring
• Your sample menu, including your most modifier-heavy items.
• Your EFTPOS terminal make and model.
• Your list of devices and ordering channels.
• The eight scenarios and the scorecard from this guide.
When you're ready, book a demo with Tabin.
Conclusion
A POS system demo that doesn't use your menu, your scenarios and your payment setup is just a tour. The goal is to see how the system behaves under the conditions it will meet in your busiest service, and to compare providers on the same yardstick.
Use the checklist before every demo, run the eight scenarios live, and score each provider straight afterwards. When you're ready to put your own scenarios to the test, book a demo with Tabin.
Frequently Asked Questions
Q1: What should I ask during a POS demo?
Ask the vendor to run scenarios, not describe features. The most useful POS demo questions are: a split bill at a busy table, a modifier-heavy order from your own menu, a kiosk or online order reaching the kitchen, a card payment end to end, a refund, a menu price change, the end-of-day and GST report, and adding a new device. What to ask in a POS demo should always include at least one scenario from your busiest service.
Q2: Should I bring my own menu to a POS demo?
Yes. Your own menu, with your most modifier-heavy items, is the most revealing test of how a system handles real orders. A vendor who can only demonstrate on a clean sample menu hasn't shown you how it will run your venue. It's the first item on any POS demo checklist.
Q3: Can I test a POS with my EFTPOS terminal before buying?
Tell the provider which terminal you use before the demo and ask them to show a card payment end to end. If your terminal isn't compatible, find out before you sign and ask what a replacement would involve. Whether a live test is possible depends on the provider and the terminal, so ask early.
Q4: How do I compare POS demos from different providers?
Use the same scorecard for every demo and score each criterion from 1 to 5 straight afterwards. Criteria should cover your menu, order flow, payment, reporting, menu changes, training, support and quote clarity. This is how to evaluate a POS system consistently, instead of relying on memory.
Q5: How long does a POS demo usually take?
Allow around an hour for a thorough POS system demo that runs your menu and a set of scenarios, plus time for questions. A short overview tour can be much quicker, but it won't test much. Ask the vendor how long they'd need to run your scenarios properly.
Q6: How do I book a TABIN demo?
To book a POS demo NZ venues can use TABIN's contact page. Bring your menu, EFTPOS terminal model, devices, ordering channels and the eight scenarios from this guide so the session is built around your venue.